Author

Sarah

Browsing

When waiting for your baby to arrive, it can feel like time is moving at a snail’s pace. It’s an exciting and nerve-wracking time; make the most of it and help the days pass quicker with these activities about how to pass the time while waiting for your baby past their due date:

Clean

If you haven’t already, do some last minute cleaning. It’ll be at least a few weeks before you’re able and free to do any cleaning after the baby’s here.

Meal Prep

I know you probably don’t feel like cooking while 9 months pregnant. However, it’ll be even more difficult when recovering postpartum and caring for your bundle of joy. Here are some ways to get ahead on food:

  • Make sure your pantry is stocked
  • Prepare and freeze some main dishes
  • Put smoothie ingredients in baggies so you can just dump one (plus a liquid) in the blender for an easy, nutritious snack. Don’t forget to include some veggies (spinach or kale, cucumber and carrots), nuts (unsalted walnuts and/or almonds), wheat germ, chia seeds, and hemp hearts.
  • Put together some instant pot or crockpot “dump” recipes (put all the ingredients in a large freezer bag, dump them in the instant/crockpot, set to cook and enjoy!).

Do Last Minute Things

I know there were some things I waited until the baby arrived to do that I could have gotten out of the way sooner. For example, open a pack (or two) of wipes. Load the diaper warmer and turn it on (if you’re using one). Put a clean sheet on the bassinet/crib. Make sure the baby monitor and white noise machine are charged, etc.

Pack the Diaper Bag & Hospital Bag

This is something you can do before baby arrives that you’ll definitely want ready as soon as your little one arrives. You can read everything I keep in my diaper bag in this post.

Pack your hospital bag: Make sure you have everything you’ll need ready to go!

Naturally Induce Labour

You can try to induce labor naturally using the tips in this article. Only do this if you’re past your due date and your doctor approves it.

Relax & Enjoy the Time

I know this is the hardest item on this list. However, here are a few simple ways to take relax before your baby arrives:

  • Play (board) games
  • Sleep (as much as your aching body will let you haha)
  • Go to the movies (you probably won’t do it again for awhile!)
  • Spend time with your husband, older children (if you have any), and extended family

I know everyday feels like it’s crawling by, and each night you might be disappointed that wasn’t the day, but I guarantee your baby will be here soon!

Do you have any other activities I can add to my how to pass the time while waiting for your baby past their due date list?

How to Pass the Time While Waiting for your Baby Past their Due Date

A diaper bag will be your new favorite accessory after your bundle of joy arrives, and if you pack it right it’ll be your new side kick. So, let’s make sure you’ve got all of the right diaper bag essentials.

I recommend packing it when you pack your hospital bag. Take it to the hospital/birthing center with you, and keep it packed all the time (as best you can). This way it’s ready to grab-and-go whenever you need to leave the house.

This post contains affiliate links to my favorite items, which means I may earn a small commission if you make a purchase through these links, at no extra cost to you. Learn more here.

My husband bought me this diaper bag as I’m obsessed! The zippers open and close so smoothly I can use them one handed (while holding my baby in the other hand). It comes with a changing table mat, and a little cooler bag for milk, formula, snacks, or cooling teethers, etc. I love the side pockets! One fits several diapers and the other side fits a pack of wipes so those two items are always handy. I got it in black so it’s gender-neutral for our current and future children. (But mainly so my husband is willing to wear it haha.)

Diaper Bag Essentials

The following items are my diaper bag essentials that I can’t leave home without:

  • A muslin cloth: This serves as a nursing cover, sunshade, light blanket (or fold it in quarters for a heavier blanket), and a playmat on the grass. I love these ones because they’re so big and versatile. Plus, there are enough to have a few in the wash, one in the diaper bag & one on the stroller.
  • A special toy: We keep one in the diaper bag and only use it when we’re out somewhere to keep it exciting.
  • A change of clothes for baby: Usually it’s just a onesie. However, it’s nice having one in case of a blowout or big spit up.
  • Burp cloths: We always need at least one, sometimes two burp cloths.
  • Diapers and wipes: Obviously we need these in our diaper bag.
  • Plastic grocery bag for dirty diapers: This was the best diaper bag hack I found. Whether you use it for a dirty diaper when there isn’t a trash can nearby, or wet clothes, a plastic bag is bound to come in handy sooner or later (probably sooner lol).
  • Hand sanitizer: In case we aren’t near a sink, you want to be able to clean your hands while out.
  • Nail file: For the first several weeks we filed our baby’s nails instead of trimming them. Now, it’s nice to have one on hand for me to use, but it’s also been nice if he gets a jagged nail so I can smooth it out while we’re out.
  • Diaper changing pad: This has been so handy when there isn’t a changing table around and we change him on the floor or on the grass. I also put it down even if there is a changing table though for some cushion. Hopefully, it also reduces some of the germs.
  • Pacifier: Because an extra one is always nice to have.
  • Baby lotion: I actually haven’t used it yet but I imagine it’ll be nice to have it come wintertime.
  • Chapstick for me: I hate having dry lips. So, this is an easy way to take care of myself while out.
  • Hydration for me: I always have a water bottle (which is especially important while breastfeeding), and I often have a small bottle of Gatorade during the summer as well. (I heard Gatorade can help increase your milk supply.)
  • Snacks for me: Another way to boost your milk supply is to make sure you eat enough. I try to pack fresh fruit when I have time, but most of the time I rely on granola bars and/or peanut butter crackers. That way I can leave in the bag for a while until I need them.
  • My wallet and phone: Since the diaper bag is basically my new purse, I keep my phone and wallet in it so I don’t forget them.

Outings are much easier when you have a properly stocked diaper bag. Plus, you can get out the door much quicker if it’s already packed (for the most part).

I hope this post helped you prepare your diaper bag essentials. Let me know in the comments what you keep in your diaper bag!

Diaper Bag Essentials You Don't Want to Miss

I bet you’ve heard of Boppy pillows as a nursing pillow. But, did you know they have a lot of other uses as well? Read on to see how you can get the most out of your Boppy pillow!

  • Nursing (obviously): One of our lactation consultants actually didn’t recommend using a Boppy for nursing because it doesn’t hold your baby up high enough, and therefore you might end up slouching to reach your baby (or needing to hold your baby up to your breast for the whole nursing session). For this reason I actually didn’t use a Boppy immediately postpartum (I used this pillow instead, which has nice lower back support!) but I ended up using my Boppy a few weeks later for nursing and it worked well.
  • Sitting: Instead of buying a donut pillow for only a few days postpartum, I decided to use my Boppy pillow to sit on! It worked especially well in wheelchairs and the car.
  • Tummy time: For the first two or so months, your baby will need some extra support during tummy time. Instead of laying your baby flat on their stomach, use it to prop their chest off the ground a little. This makes it a little easier for them to hold themself up! Put their body inside the Boppy with their chest, arms and head leaning over the side.
  • One handed feeds: If you want to multitask (or you’re in the middle of pumping and your baby gets hungry), prop your baby up inside the Boppy while you feed him/her a bottle. 
  • “Travel” pillow: Use it to rest your head as if it’s an inflatable travel pillow. Simply put your head inside the hole and relax! 

I hope these hacks help you take full advantage of your Boppy pillow!

How do you use your Boppy pillow? Let me know in the comments!

Having a baby in the NICU is always hard. I know first-hand how difficult it can be to make the most of having your baby in the NICU, but multiple doctors commented on how well I handled it, so I wanted to share my tips on it.

  • Stay busy: This should be pretty easy, at least in the beginning, between paperwork and visiting your baby, but staying busy helps time fly by, making it feel like you’ll take your baby home sooner.
  • Talk about and process it: Don’t keep your feelings to yourself! Talk about how you’re feeling, whether it’s with a friend, family member, doctor or therapist. This will help you process what you’ve been through and understand your emotions.
  • Prepare: I bet you spent time during pregnancy prepping your home for your baby, but now you have bonus time! Use it for last minute things you might not have done like opening a pack of wipes, plugging in the wipe warmer, and picking out the perfect sized baby clothes.
  • Focus on the positive: You can focus on how well your baby is being taken care of and that you both made it through pregnancy and birth together.
Remember how amazing you did growing him/her and bringing him/her into the world.
  • Have a sense of humor: Don’t be afraid to laugh. Our baby would suck really loudly on a pacifier (it could be heard across the room), and we laughed about it. Laughter does great things for your soul and emotional state.
  • Find things to look forward to: Obviously the top of this list is taking your baby home, and I’m sure during pregnancy you came up with a million things you can’t wait to do with your baby. Focus on these things again, like going on walks together in the sunshine, to help remind yourself that the NICU is not forever.
  • Heal and rest: The NICU is basically a hotel for your baby where he/she is being well taken care of. Take advantage of it while you can (and when you most need it while recovering from birth)! One nurse told me that no one will think I’m slacking/a bad mom if I don’t visit my son everyday; I ended up visiting him everyday but it was nice to hear that I didn’t need to if I didn’t feel up to it.
  • Learn how to pump: Breastfeeding and pumping are difficult and hard work. Use your “free” time now to start to get the hang of pumping. Plus, then you have breast milk to give your baby even while he/she is in the NICU!
  • Take all the free samples: I loved stocking up on all the freebies from the NICU- nipples, bottles, pump parts, Lanolin cream, etc. They even let us take my son’s favorite pacifier and pacifier pal home!

Having a baby in the NICU can be upsetting and difficult, but I hope you can make the most of it with these tips!

Did I forget something? Feel free to share your NICU tips with other moms in the comments!

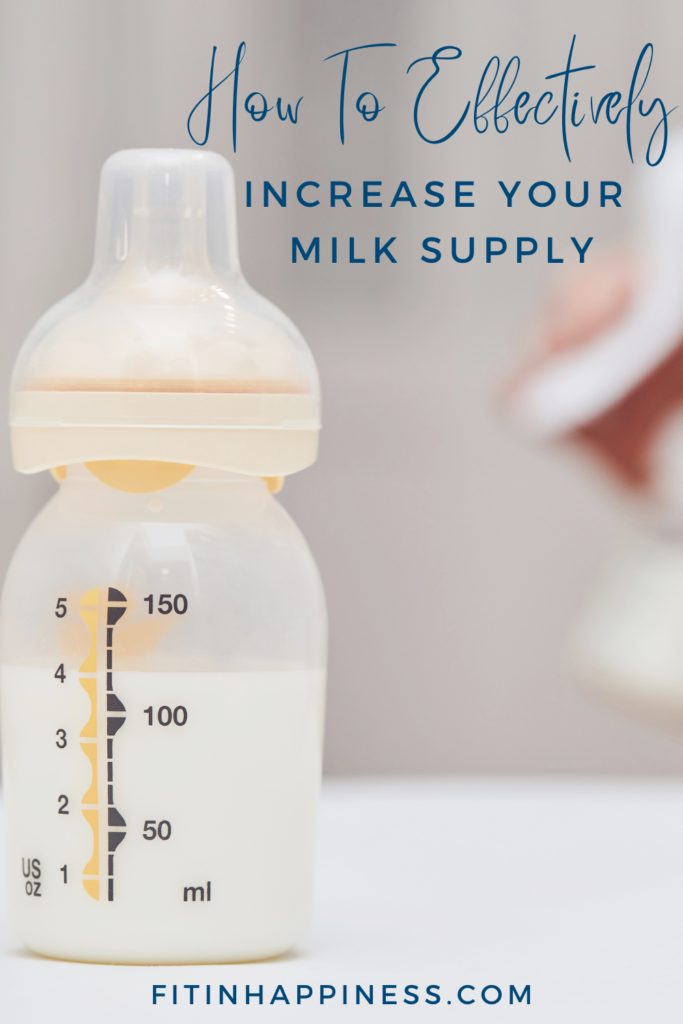
If your milk supply is low, it can be frustrating and disappointing not being able to provide everything your baby needs.

I do want to clarify that a healthy, strong baby can remove more milk from the breast than a pump can. This means that what you pump might not be a good indication of how much milk you’re making. A better judge is how your baby responds after nursing. If he/she is satisfied, you’re making enough regardless of how much you pump. If he/she is still hungry after nursing, you might have low supply and the following tips should help.

Here are some ways to boost your milk supply, followed by what worked best for me. Not every method works for everyone. Try out several and you’re bound to find a few that work!

This post contains affiliate links to my favorite items, which means I may earn a small commission if you make a purchase through these links. This is at no extra cost to you. Learn more here.

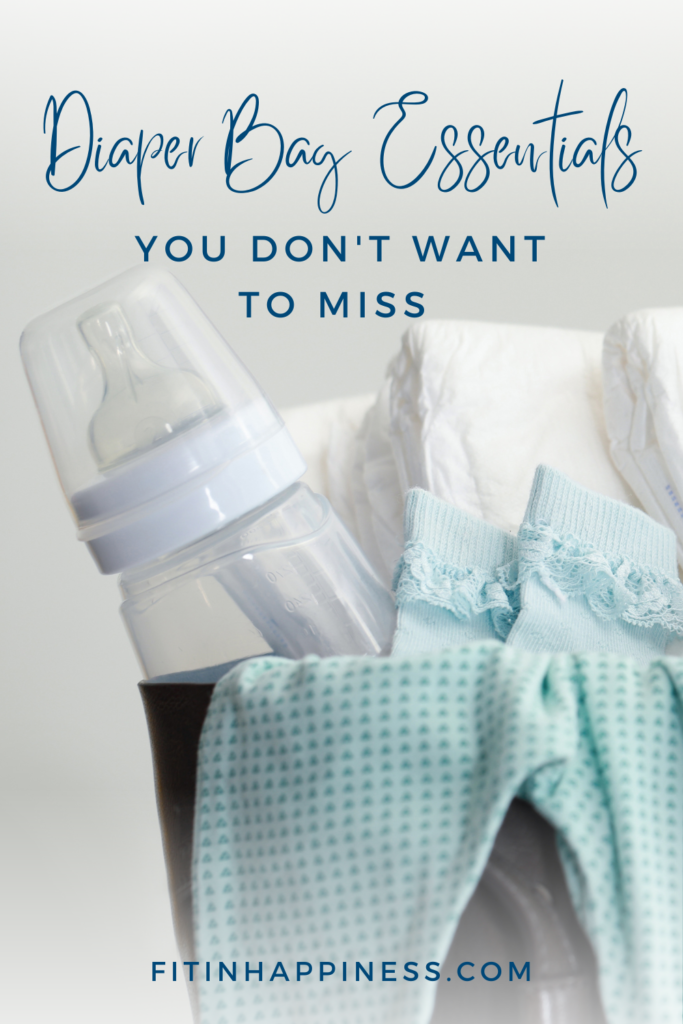
Tips to Increase your Supply:

Achieve your letdown reflex: Make sure you’re having one (or more!) letdown during every pump session. Make sure you’re relaxed while pumping and try to create a pumping routine. It often helps to think of or look at your baby. I often write blog posts while pumping and that works well for me because that’s my routine.

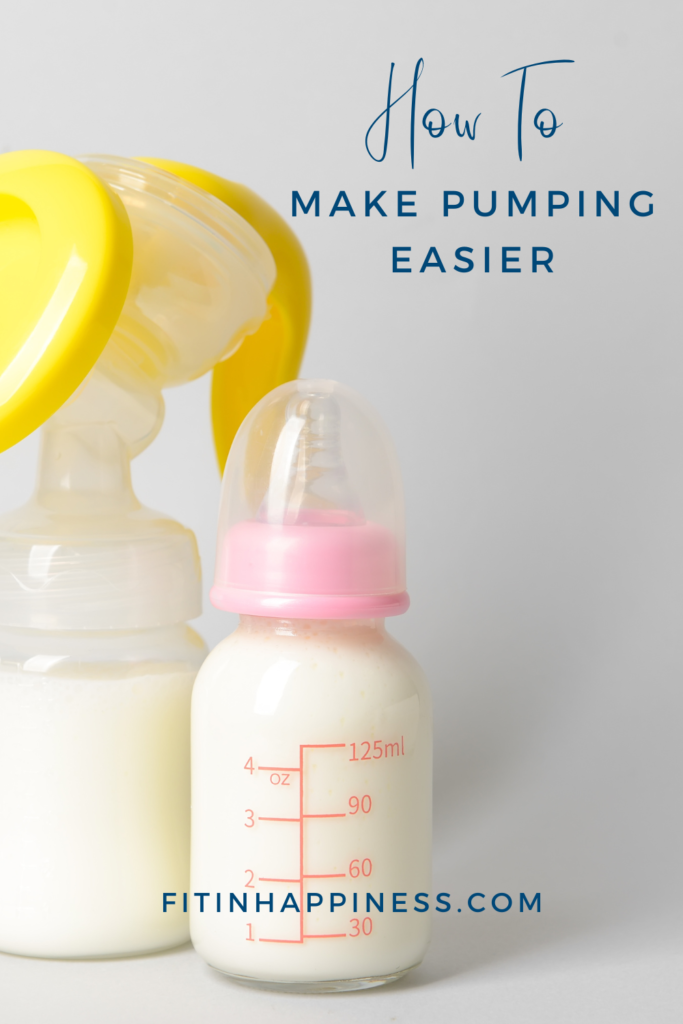
Check out this post on how to make pumping easier.

Eat old fashioned oats (not instant): I’m honestly not sure why, but something in oats can increase milk supply. Try hot oatmeal, overnight oats, or cookies made with oatmeal – yum! Eating more oats really helped one of my friends boost her supply.

Take care of yourself: As a new mom, this is way easier said than done. Try to get as much sleep as you can, stay hydrated, and eat as well as you can. I love meal prepping some salads then eating them while my son plays on his playmat.

Visit a lactation consultant: Make sure your baby is being effective and efficient at the breast by seeking the guidance of a lactation consultant. Ensuring your baby has a good latch will help make sure you’re emptying your breasts regularly. This in turn, tells your body you need more milk.

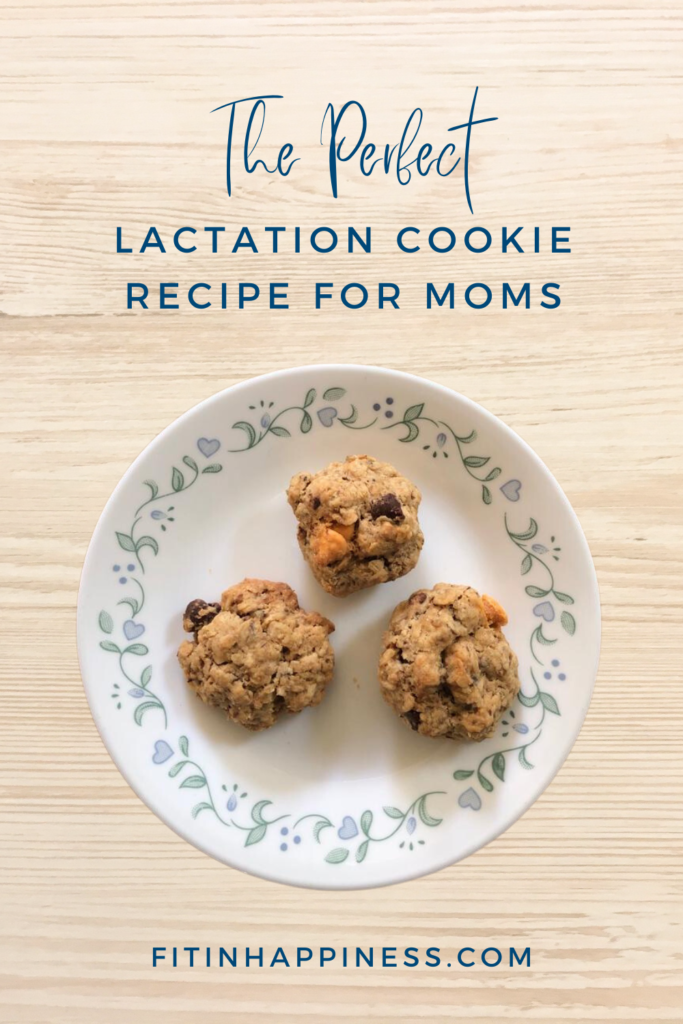
Lactation cookies: These ingredients can help increase your supply. I tried and loved Milkmakers’ oatmeal chocolate chip cookies. I personally use homemade oatmeal chocolate and butterscotch chip cookies.

Power pump: To power pump, pump for 20 minutes, take a 10 minute break, pump for another 10 minutes, take another 10 minute break, followed by one more 10 minute pump session. The session takes one hour and can be done daily for a few days. This tricks your body into thinking you have twins.

What Worked Best for Me:

I’m not sure which of these definitely helped since I implemented most of them around the same time. However, my supply increased by an ounce or two per pump after I started the following:

Don’t stress: If we aren’t producing enough it’s easy to stress about it, which can further hurt our supply. If you feel that’s the case (and your baby isn’t getting enough milk), adding in formula can be a big relief and take weight off your shoulders. If you add in formula, make sure you pump every time you give a bottle of formula so your body still knows you need milk at that time.

Increase the suction: I read online that more suction doesn’t help, but one of our lactation consultants said it does, so it’s worth trying. She recommended using 50% suction strength or more. I’d make sure you’re still comfortable though because pain can inhibit your letdown reflex. If you’re uncomfortable when increasing the suction, make sure your flanges are the right size and try nipple butter to ensure your nipples can move smoothly in the flanges.

Correct flange sizes: If your flange is too big, it can pull too much areola into the flange. If your flange is too small your nipples will rub against the wall everytime and create friction. Having the right size flanges reduces pain- pain while pumping can inhibit your letdown reflex, so having the right size flange can increase your milk output.

Nipple butter: Your nipples will be close to the walls, when you get properly sized flanges. Additionally, using a nipple butter or something like olive oil helps them flow in and out easily without any friction.

Nurse more: Assuming your baby is nursing well and emptying the breast, nursing on demand (everytime your baby wants to) tells your body you need more milk.

Pump after breastfeeding: My friend recommended this. She said it worked really well for her. Pumping after breastfeeding is telling your body that you need more milk even after your baby has finished nursing; this tricks your body into thinking you have twins.

You might also be interested in how to stay positive when breastfeeding doesn’t go as planned.

Skin-to-skin: Cuddling your baby while he/she only wears a diaper and you’ve removed your shirt and bra helps release hormones in your body that encourage milk production.

Cut back on formula: Formula can be great and necessary. However, if you’ve gotten the okay from your pediatrician and your baby is nursing well, reducing the amount of formula you give your baby can help boost your milk supply. Everytime you use formula your body doesn’t realize you need more milk, or milk at that time. 

Note: If you do use formula, make sure you pump so your body knows you still need (more) milk.

Take moringa: One of our lactation consultants recommended I take moringa capsules. She said these ones have more than enough mg when taken as directed.

Electrolytes: Stay hydrated with Gatorade or coconut water, which also help replenish electrolytes. I drink 10-12oz of Gatorade per day- it’s a nice treat too!

Try lactation drinks: I loved Milkmakers’ berry lemonade lactation drink mix but I’ve also tried Premama’s berry drink mix. Premama’s tastes a little funny. I got used to it after a week or so. Now, I look forward to it as something to drink other than water to stay hydrated.

I hope some of these work for you and help to increase your milk supply!

Share your tips and what worked for you in the comments!

How to Effectively Increase your Milk Supply

If you pump on a regular basis, you know how challenging, time-consuming, tiring, and overwhelming it can be. Therefore, you’re probably looking for all the tips and tricks on how to make pumping easier.

You might also be interested in this post on how to stay positive when breastfeeding doesn’t go as planned.

Even though I wasn’t planning on pumping, due to circumstances out of my control, I’ve become an (hopefully temporarily) exclusive pumper. These are some of the tips and tricks I’ve found to make pumping more manageable.

This post contains affiliate links to my favorite items, which means I may earn a small commission if you make a purchase through these links, at no extra cost to you. Learn more here.

Tips & Tricks for Easier Pumping:

Use the correct flange sizes: Not only can incorrect flange sizes be painful, they can also negatively impact your milk output. Ensuring you have the proper size flanges will make pumping more comfortable and efficient. Flanges that fit properly should pull your nipple in without rubbing on the sides and without pulling in your areola. The areola is the dark area around your nipple.

Lactation consultant: You might think lactation consultants are only for breastfeeding moms, but they can help with pumping too. They help by ensuring your flanges are the right size and offering pumping tips. Also, if you still want to breastfeed, they can obviously help with that.

Use a mini fridge: Instead of running to the kitchen multiple times a night (for milk or formula if you’re supplementing), put a mini fridge in your bedroom. This also helped me stay half asleep during feedings and get back to sleep sooner!

Refrigerate pump parts: I’ve heard that in between pump sessions you can refrigerate your pump parts instead of washing them every time. This assumes that since milk is good in the fridge for awhile, it’s safe on pump parts in the fridge as well. Simply throw the pieces in a big ziploc bag between sessions and wash them once daily.

Buy a Haaka: If you’re nursing, use a Haaka while you nurse on the other side. This will allow you to save the milk that leaks during a letdown, and reduce the amount of time you need to pump. This is if you pump after nursing.

Use lanolin cream and/or organic nipple butter: Use these before and after pumping (and after nursing if you’re nursing)! Putting one of these on before pumping will help your nipple slide easily in the flange. Plus, it helps to reduce any discomfort you might feel. Using a cream or nipple butter after pumping helps soothe sore nipples. I especially found relief from this nipple butter, and with organic, natural ingredients I felt comfortable using it.

Put together a pumping caddy: Having a bin of essentials with you every time you pump makes the process easier. It is also less frustrating because you don’t need to keep jumping up for things you forgot. I recommend (audio) books, extra nursing pads, snacks, water, a Haaka, a phone charger, lanolin cream and/or organic nipple butter.

Take sunflower lecithin: If you’ve been getting clogged ducts (and your doctor approves it), try taking sunflower lecithin capsules. They’re meant to help your fatty milk flow easier, therefore reducing clogged ducts.

Use collection cups: Instead of a traditional pump (that are honestly distracting and unattractive), try collection cups that fit inside your bra. These are more discreet and better for not only on the go, but also walking around the house (does anyone else seem to bump traditional pumps on everything?).

Get a hands free pumping bra: If you want to be able to do anything while you pump, you need a hands free pumping bra! Most pumps say they’re hands free, but only if you have a hands free pumping bra to hold it. Without one, you’ll need to hold each flange on your breast, which leaves no hands for anything else. Plus, what mother has time to sit and do nothing but pump? I bought this one and really like it.

Leave milk out: Instead of refrigerating then reheating milk for every feed, leave it out at room temperature (for up to 4 hours) so it’s ready to go when baby’s ready for it! Also, I heard cooling breast milk removes some of the good qualities in it. So, it actually seems more beneficial for your baby to leave it out if you’ll use it soon.

I hope these tips and tricks help make pumping easier and more manageable for you. Let me know in the comments what helps you!

You got this, mama!!

You might also be interested in this post on finding an ideal breast pump.

How to Make Pumping Easier

If you’re trying to increase your milk supply, I bet you’re willing to try just about anything- I know I am! Even though the verdict is still out on whether or not lactation cookies help boost milk supply, who wouldn’t love an excuse to eat cookies?! I love making this homemade lactation cookie recipe; not only are they cheaper than store-bought cookies, they’re arguably more delicious too!

Some notes:

For healthier cookies, substitute chia seeds for one of the eggs. To do this, simply mix 1 tablespoon chia seeds with 3 tablespoons water and let sit for 15 minutes. The mixture will turn into an egg-like texture.

I love substituting half of the chocolate chips for butterscotch chips- they make these extra tasty and feel like a special treat!

I usually save about half of the dough in the fridge to make a fresh batch later on.

This post contains affiliate links to my favorite items, which means I may earn a small commission if you make a purchase through these links, at no extra cost to you. Learn more here.

My Homemade Lactation Cookie Recipe:

Ingredients:

3 cups old-fashioned rolled oats

1 1/2 cups unbleached organic all-purpose flour

5 tablespoons brewers yeast

3 tablespoons ground flaxseed

1/2 teaspoon baking powder

1/2 teaspoon baking soda

1/4 teaspoon salt

1/2 teaspoon ground cinnamon

2 sticks butter (at room temperature)

1 1/2 cups brown sugar or half white sugar and half brown sugar

2 eggs (or substitute 1 tablespoon chia seeds soaked in 3 tablespoons water for one egg)

2 teaspoons vanilla extract

1 1/2 cups dark chocolate chips/chunks (or for a special, delicious treat, substitute butterscotch chips for half of the chips)

Directions:

  1. Preheat the oven to 375 degrees Fahrenheit.
  2. Mix the butter and sugar together.
  3. Add the egg(s) (and optional chia seeds), vanilla, baking powder, baking soda, cinnamon, salt, brewers yeast, and flaxseed.
  4. Stir until combined.
  5. Add the oats and mix again. The dough will be fairly dry.
  6. Then add the flour and mix again.
  7. Add the chocolate (and optional butterscotch chips) and mix.
  8. Taking about 1 tablespoon of dough at a time, place about an inch apart on a nonstick baking sheet. 
  9. Bake for about 10 minutes at 375 degrees Fahrenheit, until just starting to turn golden brown.
  10. Enjoy warm out of the oven, or leftover the next few days!

I hope you find the time to give these cookies a try and love them as much as I do! Let me know in the comments how it goes!

The Perfect Lactation Cookie Recipe for Moms

Selecting a pump can seem like a big and overwhelming decision with so many options available, so I wanted to share my experience with the Zomee collection cups and the Lansinoh Signature Pro pump.

You might also be interested in this post on finding an ideal breast pump, where my friend shares tips on choosing a breast pump and her experience with the Bellababy electric breast pump.

Don’t forget, you can get a free pump through your health insurance thanks to the Affordable Care Act! Contact your insurance company for more information.

This post contains affiliate links to my favorite items, which means I may earn a small commission if you make a purchase through these links, at no extra cost to you. Learn more here.

Zomee Z2 Collection Cups (with double electric breast pump)

Pros: 

  • Automatic shut off: After 30 minutes, it automatically turns off which is nice if you fall asleep while pumping (I fell asleep once and woke up when it shut off).
  • USB charger: I love this because it’s international-travel friendly because you don’t need to worry about different plugs and voltages in different countries.
  • Small motor: This was so nice because I could really be on the go with it! 
  • The cups are more discreet than traditional milk collection bottles- just slip them into your bra.
  • The motor is pretty quiet.

Cons:

  • They worked well for a few weeks but then sometimes I’d get nothing out of one breast.
  • The screen stays on the whole time; it’s very bright in the middle of the night.
  • It’s easy to accidentally touch the buttons. I’d accidentally turn it off mid-cycle which was annoying because then I wouldn’t know how long I had been pumping. It was also painful sometimes if I accidentally increased the suction.
  • The suction felt too strong for me and hurt my nipples over time.
  • It didn’t seem to be as efficient at expressing milk as the Lansinoh pump.

Lansinoh Signature Pro pump

Pros:

  • Affordable (especially if you add it to your Amazon baby registry and use your completion discount!)
  • Super easy to assemble 
  • Easy to clean
  • The light doesn’t stay on, which is nice at night

Cons: 

  • The motor is sort of loud
  • The pieces might loosen overtime
  • It’s only AC adapter or battery powered: It isn’t USB or rechargeable, but the batteries are lasting a lot of pump sessions so far and I plan on buying rechargeable AA batteries.
  • The light doesn’t stay on: You can’t see the screen at night after it shuts off.
  • The light is really bright in the dark.

Overall, the Lansinoh Signature Pro pump is working better for me and I’ve been happy with it, especially since it didn’t break the bank! The Zomee pump worked well for a few weeks but it seemed to stop working as well after using it for a few weeks.

What pump(s) have you tried? How did you like them?

The Zomee Versus The Lansinoh - An Epic Breast Pump Review

One of my biggest fears is needles, so understandably I was worried how many times I would need to be pricked during pregnancy. Especially, since I had heard pregnant women get shots and blood drawn frequently. If you also hate needles and are worried about an increase in blood draws and shots, this post is for you!

Pregnancy:

Luckily, I was pleasantly surprised how few times I had to be pricked during pregnancy. Assuming there are no complications (like gestational diabetes), it’s common to have blood work done in the first trimester. Additionally, there is a glucose screening test during the third trimester. There is an optional blood draw for genetic testing. This can tell you the baby’s gender earlier than an ultrasound can. The DPT, flu, and COVID vaccines are also recommended. Other than that, I don’t remember any additional needle encounters.

Labor:

When it comes to labor, I decided to give birth at a birthing center because I knew I’d be worried about needles while in a hospital. Even if I didn’t need any IVs, I still did not want to give birth in a hospital. You can read my birth story here.

If you’re planning to have a vaginal birth and test positive for Group B strep, you’ll need an IV of antibiotics during labor. This is to protect your baby from the infection.

Additionally, I knew I didn’t want an epidural (a huge needle that goes into my spine sounds terrifying and horrible). I used other pain-management methods like hypnobirthing, pressure points, counter pressure, and a jacuzzi tub in the birthing center. You can learn about all the pain-management techniques I used here.

Postpartum:

Unfortunately I was transferred to the hospital after birth and needed a lot of blood draws. However, if you have an uncomplicated delivery you shouldn’t need any needles postpartum!

Overall, assuming you have a healthy pregnancy, needles during pregnancy and labor are infrequent and honestly not much more frequent than if I hadn’t been pregnant.

One of my biggest fears is needles, so I wanted to share my experience with needles in pregnancy and labor with other women that have the same fear.

Needles in Pregnancy and Labor

If you’ve always wanted to breastfeed, it can be really upsetting, frustrating, and hard to stay positive when breastfeeding doesn’t go as planned. So how do you say positive when things don’t go as planned?

These are some things I’ve been doing to stay positive during a frustrating breastfeeding journey.

Tricks to Stay Positive When Breastfeeding:

Take walks: Getting out of the house and into the fresh air does wonders for mental health and sanity. It’s grounding, as well as calming. I especially love walking on sunny days, but even cloudy days have a positive impact on my mood.

Remember it isn’t forever: In the moment, it’s easy to think breastfeeding (or pumping) will last forever, so it’s been helpful to remind myself that it’s only temporary. Also, taking note of how far you’ve come and how much closer you are to introducing solid foods can help.

Work with a lactation consultant: If you still want to breastfeed, work with a lactation consultant to get support and guidance.

Talk about it: Even though you rarely hear this, breastfeeding is difficult for a lot of women. You don’t need to keep your emotions to yourself! Share what you’re going through and how it makes you feel with your family, friends, therapist, and/or doctor- whoever you feel comfortable with and will make you feel better about the situation.

Remember it’s not your fault: Chances are, there’s nothing you could have done to avoid the less than ideal situation you’re in now. Don’t blame yourself!

Some breastmilk is better than none: If you’re still working hard to give your baby some breastmilk, remind yourself that even just a little breastmilk is better than none! Breastmilk has so many benefits for your baby; even if you can only give your baby a little, it’ll pay off.

Give yourself permission to do what’s best for you and your baby/situation: Try to let go of how you thought things would go. Instead, evaluate the situation and give yourself permission to adjust the plan to fit your unique situation.

Remember You’re Doing an Amazing Job!

Breastfeeding (and motherhood!) is hard work, but you’re doing an amazing job! Keep up your hard work; I promise it’ll all pay off and get easier soon (or so I’ve heard)!

I hope this post helped if you’ve been wondering what to do when breastfeeding isn’t going as planned. Let me know what suggestions you’re going to try, and share which tactics are helping you in the comments!

How to Stay Positive When Breastfeeding Doesn't Go as Planned